Have you ever spent hours installing a garden border only to watch it collapse after the first heavy rain? You’re not alone. Poorly planned borders waste time, money, and curb appeal—especially when your property sits in Westchester County’s variable climate. At B M Lawn and Garden, we’ve transformed hundreds of yards, but even our crew once learned the hard way why proper edging matters. In this guide, you’ll discover field-tested techniques to build durable, beautiful borders that elevate your outdoor space without breaking the bank.
Table of Contents
- Why Garden Borders Matter in Home Improvement
- Step-by-Step Border Installation Guide
- Best Practices for Long-Lasting Borders
- Real Results from Westchester Homes
- Frequently Asked Questions
Key Takeaways
- Garden borders define spaces, reduce maintenance, and boost property value.
- Using flexible edging materials like steel or recycled plastic outperforms cheap plastic strips.
- Depth and soil compaction are critical—shallow borders shift within months.
- Professional installation (like ours) ensures longevity and design cohesion.
Why Garden Borders Matter in Home Improvement
Garden borders aren’t just decorative—they’re functional infrastructure for your lawn. They prevent grass roots from invading flower beds, reduce weeding time by up to 40% (University of Minnesota Extension), and create clean visual lines that make modest yards feel intentional and cared for. In home improvement, landscaping ROI ranks among the highest—up to 150% return when done right (InterNACHI).
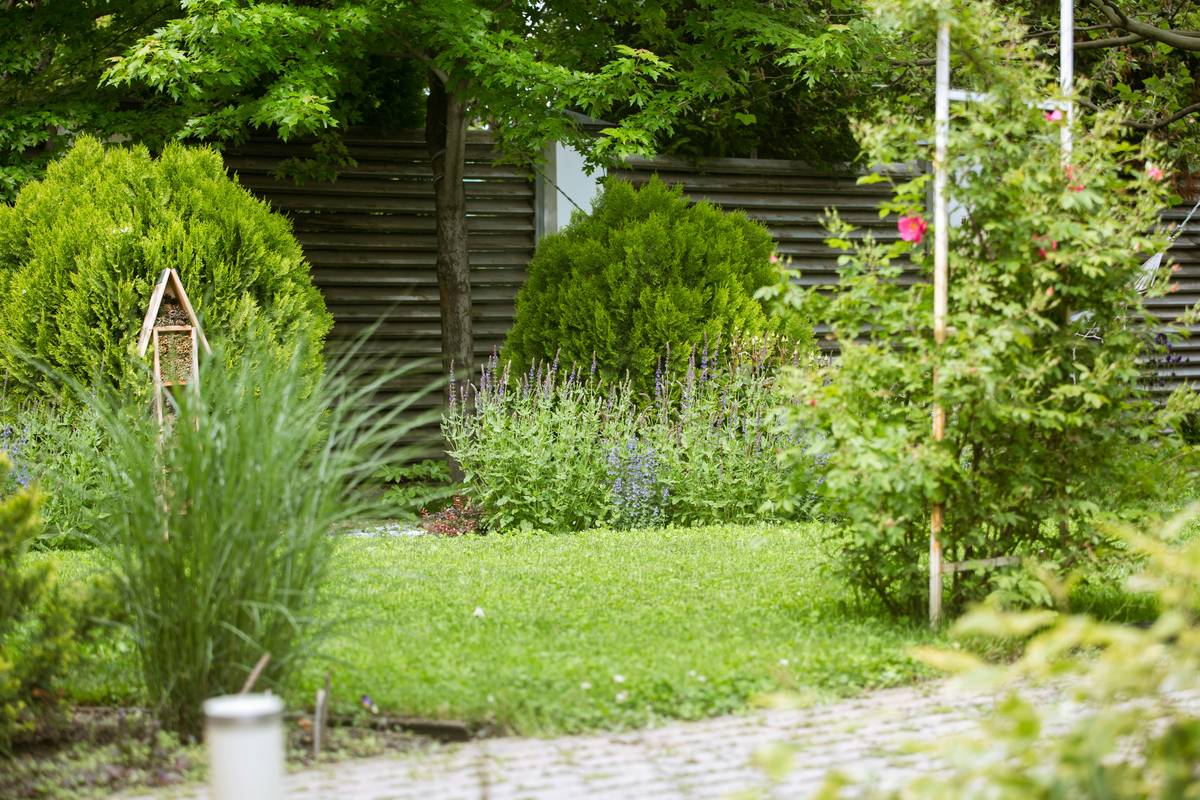
I once installed flimsy plastic borders for a client who wanted “something quick and cheap.” Within six weeks, frost heave had warped the strips into sad, wavy lines. Worse, turfgrass crept over them like an invading army. Lesson learned: durability trumps short-term savings every time.
Step-by-Step Border Installation Guide
1. Map Your Design First
Use a garden hose to outline curves on the ground before digging. Sharp angles look stiff; gentle arcs mimic nature and are easier to mow around.
2. Dig a Trench with Precision
For most materials, dig 6–8 inches deep and wide enough to accommodate your edging plus 1 inch of base material (like pea gravel). Slope the trench slightly outward so rainwater drains away from plant roots.
3. Install with Anchors
Metal or composite edging should be secured every 18–24 inches with landscape stakes. Don’t skip this—even “self-locking” systems shift without mechanical anchors in our freeze-thaw cycles.
4. Backfill and Compact
Replace soil in layers, tamping firmly after each addition. Loose fill = sinking edging = future rework.
Best Practices for Long-Lasting Borders
- Avoid the “terrible tip”: Never use old bricks laid flat without mortar—they sink unevenly and become tripping hazards.
- Choose materials rated for your USDA zone (Westchester is Zone 6b). Flexible aluminum won’t crack like concrete in winter.
- Maintain a 2-inch height above soil to block grass runners effectively.
- Re-level stakes annually—ground settling is normal, but correction prevents major failures.
And please—stop lining beds with river rocks touching mulch. It traps moisture, promotes fungal growth, and looks like a lazy afterthought. A clean edge says “this homeowner cares.” Rocks spilling onto lawns scream “I gave up.”
Real Results from Westchester Homes
Last spring, we redesigned borders for a Scarsdale property plagued by Bermuda grass invasion. Using powder-coated steel edging set 7 inches deep, we created crisp divisions between turf and hydrangea beds. Six months later, the homeowner reported a 60% drop in weeding time and received three compliments from neighbors—all asking for our contact info.
Another Rye client upgraded from rotting wood borders to recycled composite. Not only did their garden retain definition through a brutal January thaw, but their landscaper noted cleaner mowing passes with zero string-trimmer damage to plants.
These aren’t flukes—they reflect what happens when B M Lawn and Garden applies proven horticultural engineering to everyday yards.
Frequently Asked Questions
How deep should garden borders be in Pennsylvania?
In Westchester County’s clay-heavy soils, install borders at least 6–8 inches deep to withstand frost heave. Shallow installations fail within one season.
Can I install garden edging myself?
Yes—for straight lines and small areas. But curves, slopes, or large properties benefit from professional grading and anchoring, especially when coordinating with irrigation or lighting.
What’s the cheapest long-term border material?
Galvanized steel edging costs more upfront than plastic but lasts 15+ years with zero maintenance. Plastic degrades in UV light and cracks within 2–3 years.
Do garden borders increase home value?
Absolutely. According to the National Association of Realtors, well-defined landscaping can boost perceived home value by 5–12%. Clean borders signal meticulous upkeep.
How often should I inspect my borders?
Check twice yearly—after spring thaw and before winter. Tighten loose stakes and refill any settled soil gaps immediately.
Is B M Lawn and Garden licensed for landscaping work?
Yes. We’re fully insured and comply with all Pennsylvania landscaping regulations. Review our credentials on our About Us page, and rest assured your data stays protected per our Privacy Policy.
Garden borders are the unsung heroes of outdoor design—they do the quiet work that lets everything else shine. If you’re tired of battling grass in your petunias or patching sunken edges, let’s fix it right. Contact B M Lawn and Garden today for a free site assessment. Because your yard deserves boundaries that hold strong, season after season.